Have you ever lost your keys or glasses while seated in a room that you know you haven’t left?
I mean, one second, you have them; the next, you’re almost sure there’s a magic portal in your den where the scoundrels of other alternate universes reach in to steal your stuff and drive you crazy.
Well, looking for a queen bee can feel like that sometimes.
You’ve done your homework, you’ve checked to see that there are eggs, and the bees seem calm…so she must be in there.
It takes time and practice to spot a queen, and even seasoned beeks can have trouble spotting her sometimes. This is when taking the time to mark your queen bee proves to be especially helpful.
Should You Bother Marking Your Queen Bee?
Marking queens is not crucial. You don’t have to, but you won’t regret it.
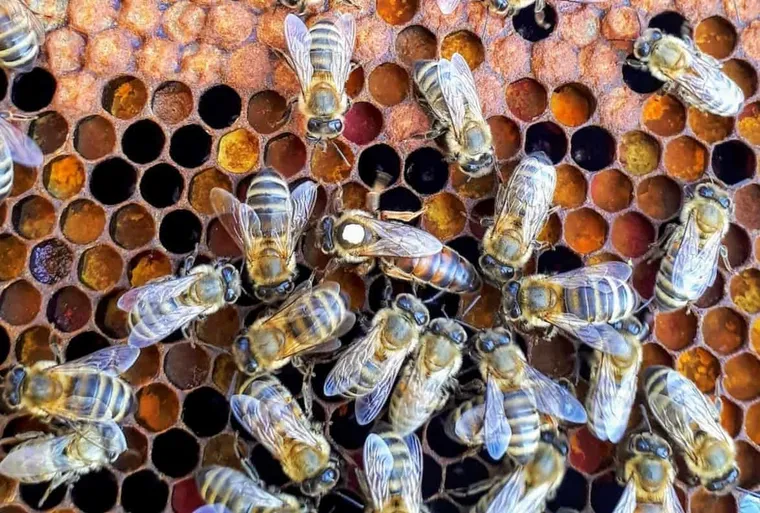
When you mark queen bees, keeping tabs on them becomes much easier. In fact, queen honey bees have subtle differences that separate them from their daughters which makes finding your queen bees tricky.
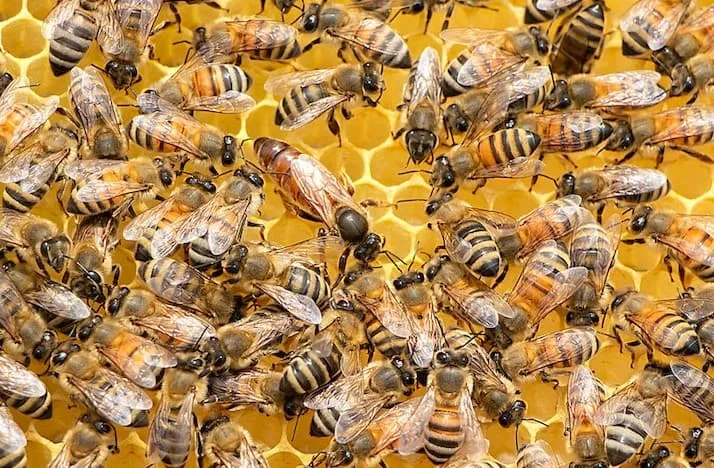
A queen bee’s abdomen is slightly longer and sometimes a shade lighter.
If you take the time to observe her, she even walks a little differently. She has a royal gait, shall we say.
She moves a little slower, almost like she’s always inspecting the guard.
Her daughters are always making a fuss about her constantly, but she walks like she enjoys the attention.
Unfortunately, her royal gait won’t scream at you from the safety of her location.
Let’s not forget that once you open the hive, the bees may even walk over to her to hide her from you.
For those times when you need to confirm that she’s physically there, you will need all the help you can get.
Sure, the first time or two, you can get someone to point her out and show you the ropes.
Unfortunately, your schedules may not always be synchronized. When you have a marked queen, you really speed up the process of locating her.
Marking The Queen is a Quick Way to Determine Her Age
If you’ve started to notice failing populations, a quick look at the color used to mark your queen will help with a possible diagnosis.
As a hobbyist, you probably won’t need to requeen often, and it will be based on the needs of the individual colonies rather than the apiary as a whole.
That will require you to keep some kind of record of each queen individually.
You may also notice that the temperament of the hive has changed. Depending on where your apiary is located, you will want to confirm that your queen hasn’t been replaced.
Sometimes, queens are superseded by the colony, which happens when they find her performance insufficient and replace her.
Sometimes, your colony swarms, and your original queen sets off to begin a new life with some of her girls.
Alternatively, your particular queen could be usurped. That’s when a colony decides to invade a hive, but they don’t rob it.
The intention is to kill the old queen and install their queen as the new egg layer, and her workers, as well as the survivors of the original colony, begin a new life. This is different from swarming.
A new swarm will probably move into an unoccupied space in the spring. That’s because the environment provides enough food for them to start their new empire.
A swarm that goes house hunting in the summer is already operating at a disadvantage because most flower blooms are gone and leave seeds and fruit that look appetizing enough, but not if you’re a bee.
In all three circumstances, you could lose the genetic advantage you sought when you were sourcing your queen the first time around.
The Queen is still Around
Before you go ahead and assume that there has been a coup in the hive, you should find the queen.
If your marked queen is still around, then you know that your bees are probably just having a bad day.
Give them a chance to calm down. You probably chose the wrong day to check in with them.
It could be very humid or very cold, or they had an uninvited guest, like a skunk trying to pry open the hive the previous night.
If you find an unmarked queen, then the genetic change might explain the change in behavior.
That said, you’ll need to give it a few more visits just to be sure it’s not another reason because local queens can be a great asset.
Queen Bee Marking Colors
COLOR
YEAR ENDS IN
White
1 and 6
Yellow
2 and 7
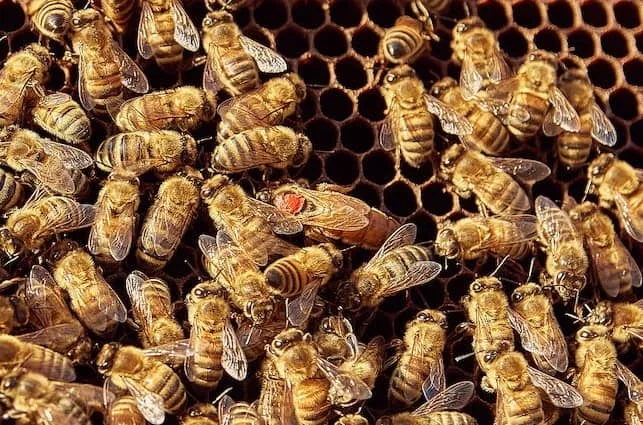
Red
3 and 8
Green
4 and 9
Blue
5 and 0
The principle around this chart is that by glancing at the queen, you not only confirm if she is your original queen but also how old she is.
Sometimes, queens can live past five years, but it is rare. Therefore, the colors on the chart rotate every five years.
To mark a queen bee, the colors used are White, Yellow, Red, Green, and Blue. The rules are as follows:
- Years ending in 1 and 6 – White
- Years ending in 2 and 7 – Yellow
- Years ending in 3 and 8 – Red
- Years ending in 4 and 9 – Green
- Years ending in 5 and 0 – Blue
In order to remember the system, there’s a pneumonic that may help you remember. Will You Rear Good Bees.
If that doesn’t work for you, make one up for yourself. Mine is “Watering Your Roses Gets Bees.”
Is it clever? No. But it does help me remember.
If you’re out of a certain color, you can replace it with another, but you need to keep up with your record-keeping.
That way, when you come across your purple queen, you can still work out how old she is.
How to Mark a Queen Bee Step by Step
Marking a queen bee is an essential skill for beekeepers. Follow these four simple steps to safely and easily mark a queen bee.
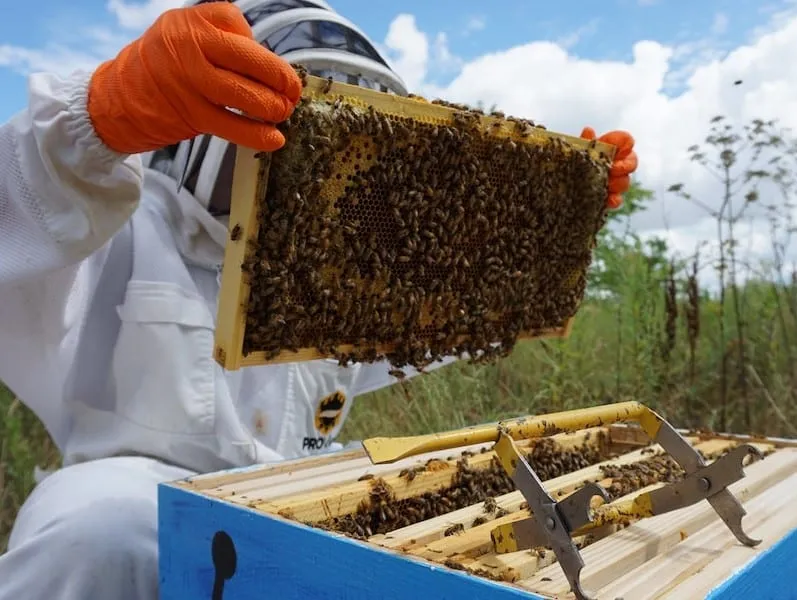
Step 1: Spot her

Finding her is going to be your first hurdle. There are a few tricks to this.
First, she’s likely to be on the frame with the most bees.
When you find that frame, remove it and check it thoroughly.
Of course, she can be a little trickster, and she may hop to the next one, but it’s a great place to start and will reduce the search time.
You will also observe that the bees around her behave differently.
She walks like royalty and can almost be described as elegant. You may even notice that the worker bees will get out of their way.
These are all subtle signs, but when you combine them with her different physical attributes, it makes it easier to find her.
Step 2: Isolate her
There are several ways to do this.
Fingers
The first is using your fingers. There is a method to this, however.
Unlike picking up a worker bee, if you get this wrong and squish her, you do not get a do-over.
You have to be very gentle as you grip and immobilize her. Since this is a very delicate procedure, it is best done without gloves.
Latex gloves can be used if there is a great need.
Push-in Cage
The other option is to use a push-in cage.
This is simply a disc with some mesh attached to some sharp prongs that help to keep the disc in place when pushed through a comb.
The prongs do not allow the queen to escape because her abdomen is larger than that of the other bees.
Queen Catcher
The final option is the use of a nifty little contraption called a queen catcher.
It looks a little like a lady’s hairclip.
Once you’ve located her on the comb, you squeeze the handles to open the catcher, place it above her, and then let it close.
There’s a little gap at the bottom when it closes, so you don’t need to worry about too much pressure that could possibly rip off one of her limbs.
The catcher has holes that allow the workers to escape, but the queen can’t pass through, so she remains secure.
Step 3: Make your mark
We’ll cover this in the same order we did in the isolation section.
Fingers
If you choose to use your bare hands, then you will need to hold the queen honey bee by her legs.
This means that you let her grip your index finger, and then you use your thumb and middle finger to hold her legs in place.
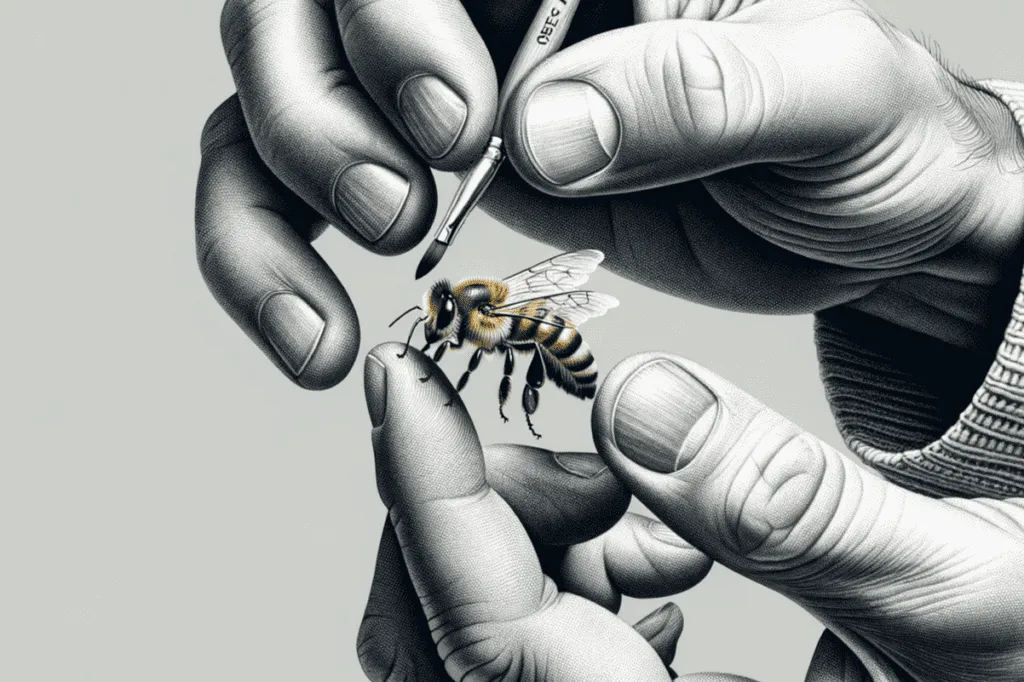
Then, use your other hand to apply the paint by making a colored dot on the top center of the thorax.
Make sure you mark a queen bee properly by getting the paint on the hard surface, not just the hairs on it; otherwise, the paint won’t last.
Push-in Cage
If you are using the push-in cage, then you need to gently push it down until there is some restriction on her movement. Remember not to push the marker cage too hard.
Once she’s in the queen-marking cage, use your marker to paint her. You’ll need to keep her there for a minute or two for the paint to dry. Then you can release her.
Queen Catcher
Finally, if you used the queen catcher, then there are some additional tools you may choose to use to do the marking.
It’s known as a queen marking tool or queen marking kit.
A queen marketing tool works like a syringe, except that instead of a needle, you have an open tube with a mesh and a plunger with a sponge on the inner surface.
The principle is the same as that of the push-in cage in that you drop the queen into the tub and insert the plunger.
Get the queen on the plunger with her legs on the sponge and slowly push the plunger to the mesh.
The sponge helps to protect her while keeping her fixed in one position.
Then, you place your mark on the queen bee’s thorax, which is now pressed against the mesh. Once done, give her a little wiggle room by pulling down the plunger a little bit.
Keep her in the tube for a few minutes to make sure the paint dries.
Step 4: Release
This whole process takes just a few minutes, so there’s no need to worry about rejection.
If you use the queen marking tool, simply open up the hive, place the tube with her in it on top of the frames containing brood on its side, and let her walk out into the hive.
Then, retrieve your tube and close it up.
Final Thoughts
Queen marking is a good way to monitor the performance of your queens and takes just a few minutes to do. It can tell too many stories.
For one, it can give you an inkling if you have a healthy queen in your honey bee colony. It can also tell you if it’s time to get the colony a new queen.
For new beekeepers, to mark a queen bee may be quite scary. Imagine handling such a very small insect that can sting at any time. But over time, it gets easier each time you do it.
What do you use to mark her? Just a magic marker? Is that not harmful to her?
(I’m a new year…was gifted my first hive box for Christmas)