What’s in the box? Even when Brad Pit isn’t screaming that at Morgan Freeman, it’s a valid question.
In beekeeping, the results are usually better than in the movie Seven, so there is no need to panic.
Honey bees are so intriguing. They keep their secrets within the hive, away from our prying eyes.
Sadly, they don’t know our prying eyes are friendly. As a bee-lover, you only want to look out for your honey bee colonies.
Did the queen take? Is her daughter building a comb? Is she healthy? Do they have enough stores? Is there vermin that they may need your help in dealing with?
So many questions. All these answers require you, the beekeeper, to immerse yourself in their world and, in some instances, require you to perform a beehive inspection.
Sure, you have to rip the roof off their heads to make that happen. As bad as that sounds, if you handle the bees well, they won’t descend upon you with the wrath of their foremothers.
They will show some irritation and may give you a head butt or two, but depending on the bee race you have, it may not get much worse.
The exception to this is, of course, Africanized colonies. Those need little provocation, but you probably won’t get these in a packaged colony.
Inspecting your beehive is going to be a part of your life for as long as you stay a beekeeper. So let’s walk through what you need to do and how to do it.
When to do Your First Beehive Inspection
The answer depends on the type of colony you’re dealing with.
Let’s look at the three ways in which bees are generally acquired by beekeepers: Packaged bees, a captured swarm, and a split colony.
The type of bees will dictate when you should perform your first beehive inspection.
Packaged Bees
Package bees may be a little more sensitive. You’ll want to ensure that they managed to release the queen from her cage and that you have provided enough food for them. You can check in with them after a week.
A Captured Swarm
A captured swarm is a little more self-sufficient. The ladies tend to eat large amounts of honey as their severance package when they split from the colony.
Natural swarms tend to happen when there’s plenty of nectar available and may not need to be fed by you.
Since the queen is always surrounded by her subjects, she’s practically ready to resume her duties as soon as the worker bees set up the nursery.
Watch the bees as they enter the hive. If you see them coming in with pollen, then your inspection will only serve to confirm what the bees are telling you, that there is a brood about. Where there is brood, the queen is alive and well.
A Split Colony
If you had the good fortune to buy a split colony, then you can check in with them in a week just to ensure that they traveled well and they are settling in. If you wait two weeks, that is still acceptable.
Best Time of the Day to Perform a Beehive Inspection
The best time of day to perform a beehive inspection is in the afternoon when the sun is the highest in the sky since it offers you the maximum amount of natural light.
One of the things you’ll be looking to see when you inspect the colony is the presence of eggs and an open brood.
The eggs are especially difficult to spot, so you need all the natural light you can get to see if you can find them. They are very tiny and almost translucent, thus difficult to spot.
It’s a little easier with a newly drawn comb, but your eyes need a little training.
You don’t need to take the whole hive apart.
Once you confirm that the worker bees have started drawing the comb and that the brood is present, you can close up. The queen tends to lay eggs in a comb that’s drawn on the center frames.
That’s where your search should begin. Seeing capped brood is as good as finding the queen, so you can be done in about 5 minutes.
What to Look for During a Beehive Inspection
Here’s the thing: Whenever you have people over, you always want to know what their agenda is before they visit. That way, depending on who it is, the visit can be short and sweet. The same can be said about hive inspections.
Inspections are disruptive to the bees, so you don’t want to overstay your welcome. You need to know, beforehand, exactly what your visit is about.
There are 3 primary things that you should look for when you inspect a beehive: queen productivity, quality of the colony, and problems inside the hive.
Queen Productivity
If it is your very first inspection, it’s all about finding out if the queen is productive. You’ll be looking for a drawn comb, the presence of eggs, and possibly a good brood pattern.
Searching for the queen also requires a little training, which is why evidence of her is enough.
In addition to that, the newer you are, the clumsier you are likely to be, so you may injure the queen while trying to find her. Once you see evidence of bee brood, you know she’s on the job.
Quality of the Colony
With time, your inspections will cover additional tasks, such as identifying the quality of the colony.
Are there more drones than there should be? That could point to an old queen or, worse, laying workers. Are there any pests in the hive? Are they building the comb correctly? Do they have enough stores for either dearth or winter?
It’s important to be clear about why you’re opening up the hive so that you can spend the least time possible.
Problems Inside the Hive
There’s also a lot to be learned from observation. Many beekeepers are alerted to a problem inside the hive by observing some peculiar behavior on the hive entrance and the landing board.
Perhaps there’s an extraordinary expulsion of bee larvae. That could point to disease or inbreeding. That’s just one of several things that can be diagnosed even before opening the hive for an in-depth analysis.
How to Inspect a Beehive Step-by-Step
We’ve broken down the process of beehive inspection into four easy-to-follow steps, which are discussed in-depth below.
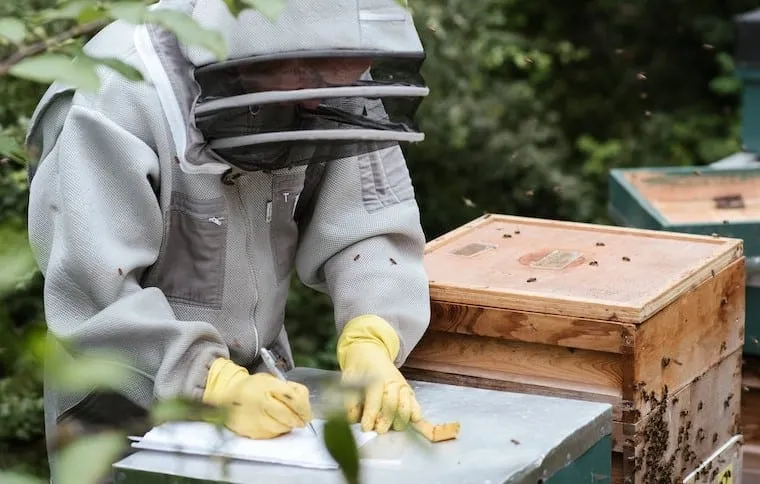
Step 1 – Preparation

So, you know what it is you’re going to look for, and you have an idea of what it looks like (thanks, Google!). Get your protective clothing and ensure you’re suited up. Now, you are ready to begin.
The more protected you are, at least at the beginning, the less distracted you’ll be, and you can focus on the actual inspection.
Ensure you have all the equipment you need for the inspection process, specifically your smoker and your hive tool. A bee brush like this one would be nice, but it’s not absolutely necessary.
When it comes to your smoker, you should have worked out how to get a good thick white smoke from it. This smoke pellet is said to be very good despite them being a little bit hard to light.
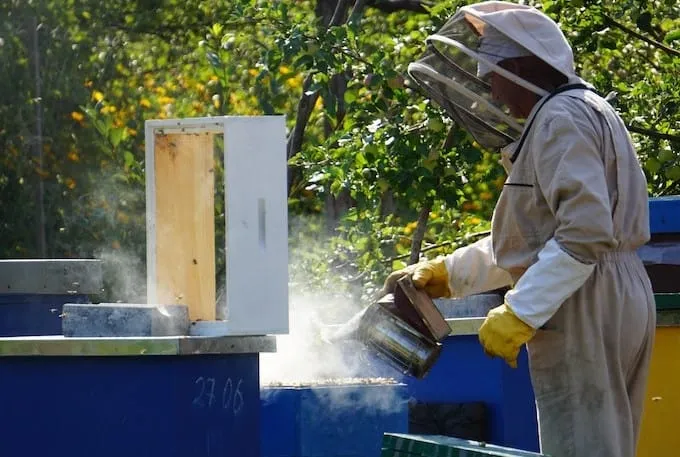
Step 2 - Opening the Hive
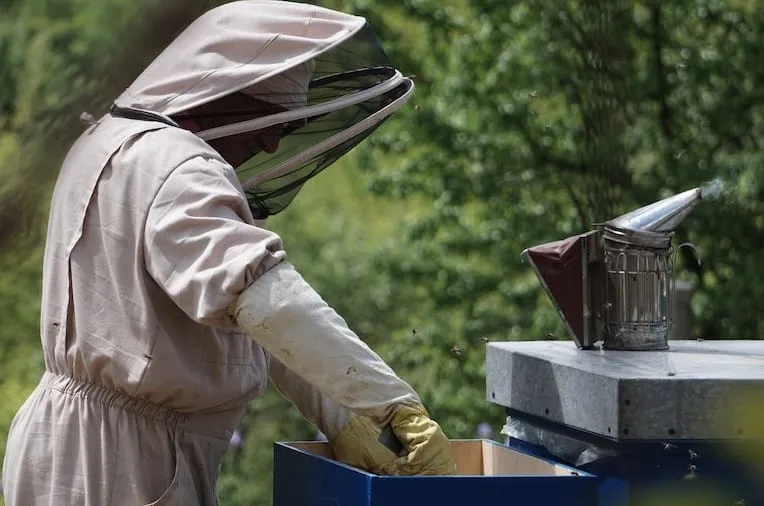
This is where your smoker is very important. Direct a few puffs to the hive’s entrance as that gets the soldier bees back inside.
The smoke also interrupts their main form of communication, pheromones, so it’s like the lookout has bad cell reception and can’t alert the rest of the troops.
When you lift the roof, first direct a few puffs under the hive cover and then close it for a few seconds. The bees tend to react by feeding on the stored nectar, perhaps in preparation to flee or fight.
Whatever the case, their mood is vastly improved now that they are well-fed. Even though you will have them flying around, they may not be particularly aggressive.
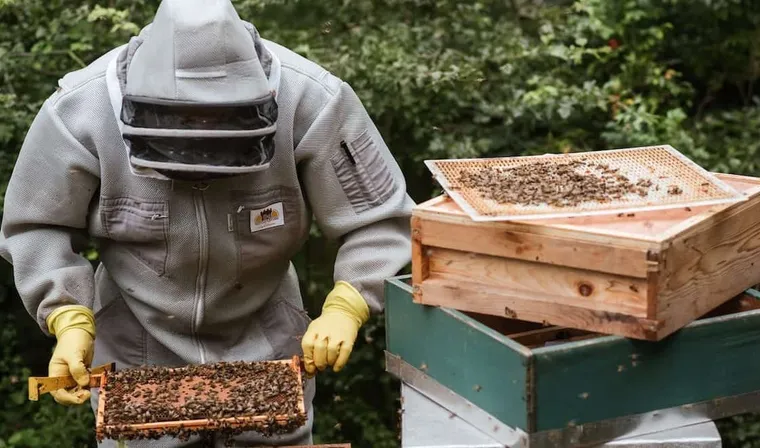
Step 3 - Carefully Lift the Frames One by One for Inspection
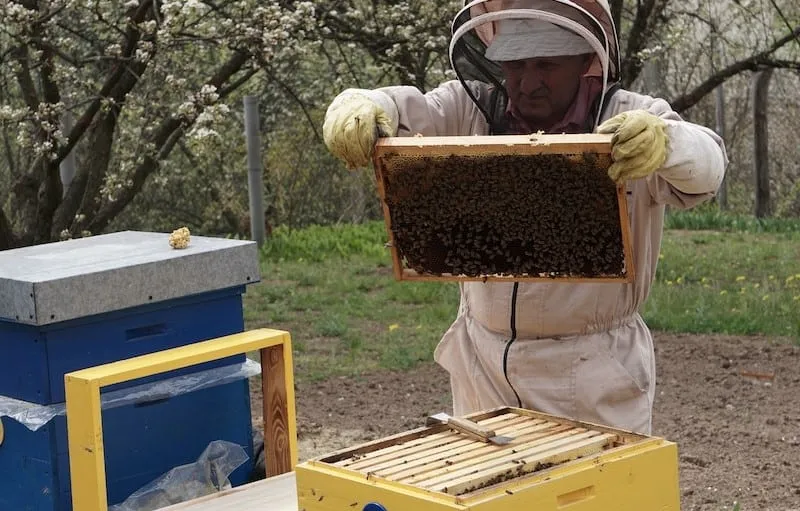
If this is your very first inspection after a week or two of installing your new colony, you’ll probably only need to look at two or three frames at the center of the hive.
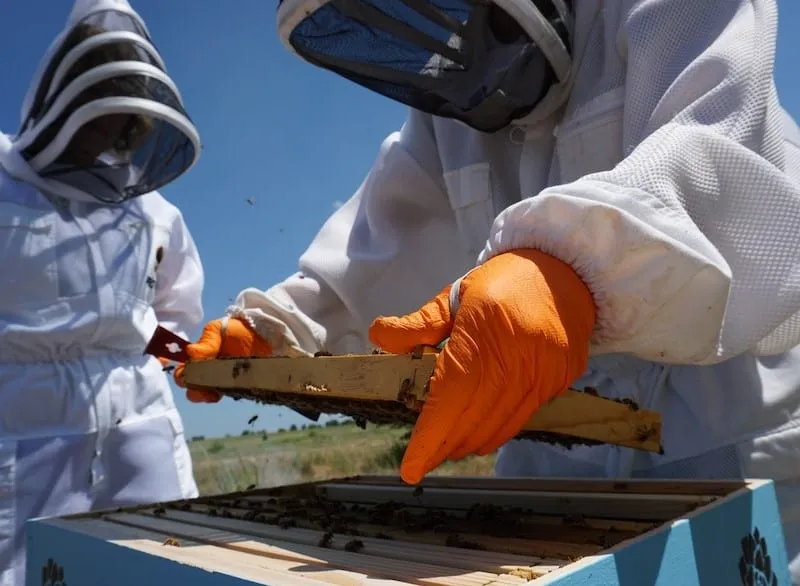
Make sure you have your hive tool at hand before delving into this step. Using your hive tool, gently pry the frame to help to break the propolis seal.
Take one frame out from one of the ends of the hive. Use this gap to slide the other frames away from the center until you get to the one where they have drawn out the comb.
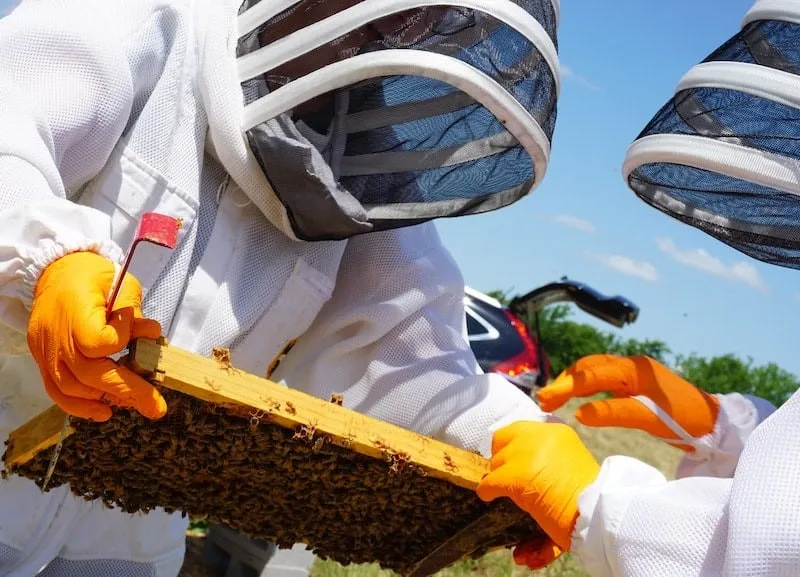
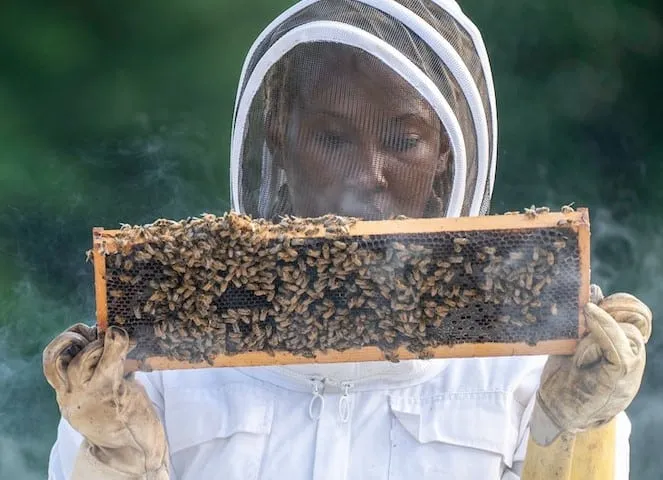
This gap will allow you to lift the frame carefully out of the hive easily. Once you have the frame, brush away the bees so that you can see into the cells.
It would help if you could find an experienced beekeeper to help you identify eggs and brood.
Once you find the eggs and brood, your work is done. Replace the frame and slide all the others into their rightful position. Close up the hive and leave.
If you don’t see any evidence of brood or eggs, then it may mean that your queen bee is no longer laying eggs. You may need to acquire a new queen. You can give it another week in case you got a virgin queen.
She could be a little late to the party but still present. If you still don’t have brood in three weeks, it’s probably time for a new queen.
Step 4 – Document it
Keeping records is very important, even for the hobbyist.
Keeping a record of your findings using a journal like this helps to diagnose issues early and also points out to you what actions need to be taken next.
It’s best to make notes immediately after the inspection when the information is fresh.
If there was no brood, make a point that a follow-up visit after a week is necessary. You then have a week to approach your beekeeper’s association to identify potential suppliers of queens.
Once your week is up, you’re prepared for any eventuality that you may find in the hive.
Beehive Inspection Checklist
Here’s a simple checklist you can take with you to the hive, and make your notes as you go along.
Most of the items on this beehive inspection checklist can be simply ticked off if present or crossed if absent.
Beehive Inspection Frequency
The only way we could improve beekeeping would be to come up with unified answers.
Unfortunately, our egos won’t let that happen. Some people believe that more visits allow you to learn. Others will tell you that your visits are so disruptive you should leave the bees be.
In the long run, twice a month or even a monthly visit will suffice. The thing to fall back on is why you’re carrying out your inspection.
If you don’t have a specific reason, then make do with setting up a perch for yourself outside the hive and observe them. Symptoms of disease are sometimes visible just by observing the bees around the hive.
The only thing that cannot be inferred by observation is the presence of pests in the hive.
For that, inspection is necessary, but the frequency will be determined by the biology of the pest.
You need to understand the conditions that allow the pest to thrive inside the hive. When are these conditions most conducive to the hive? Answering these questions will aid in the next part of this lesson.
The Do’s and Don’ts of Beehive Inspections
When making up an inspection schedule, it’s important to take into consideration the following do’s and don’ts. Let’s begin with the don’ts.
DON’T Perform a Hive Inspection During a Nectar Dearth
Nectar dearth is a time of paranoia and suspicion. The bees will be very protective, and with good reason.
Opening the hive in a time of scarcity affords bees from other colonies the opportunity to raid that hive and make away with the hard-earned honey stores.
You can be the instigator of a robbing incident and that can have devastating effects on the colony, with lots of bee fatalities. Avoid this unfortunate incident by not doing hive inspections during this time.
DON’T Perform a Hive Inspection During the Dead of Winter
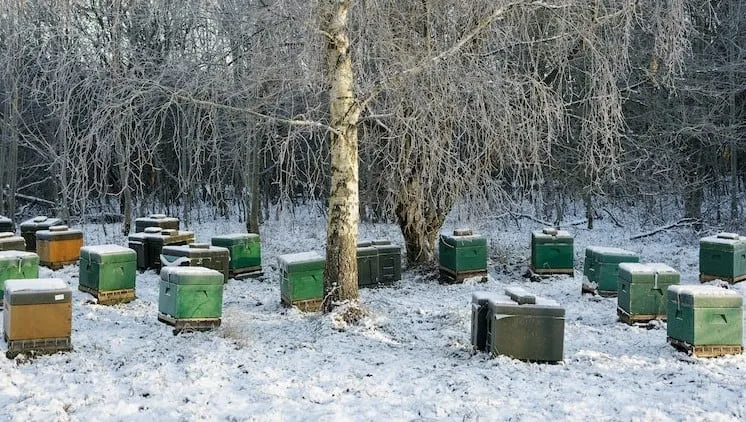
Avoid inspections in the dead of winter and during a nectar dearth. In winter, you only need to open the hive to confirm that the bees have enough food. That is it.
The queen isn’t laying, so inspecting for eggs and brood nest is irrelevant. Since they don’t have a central heating system, every time you open the hive, the warm air created by their respiration and vibrating wings escapes, and you run the risk of chilling them.
DO Perform Periodic Hive Inspections
Inspect beehives in your apiary regularly. Your schedule will vary depending on the part of the country you’re in.
Early Spring Inspections
As winter gives way to spring, you will need to inspect the hive to ensure that it is getting ready for the approaching nectar flows.
Springtime Inspections
Springtime is also a swarming time, so you may need to intercept nature by splitting the colony. The presence of a swarm cell will let you know that it may be time for the split.
Once the nectar begins to flow, inspecting the brood chamber won’t be necessary unless you notice a change in their behavior.
End of Summer Inspections
As summer comes to an end, varroa treatment is probably going to be your priority. There are various treatment options.
You will need to inspect the colony to get a mite count, which will tell you whether you need to take any action.
Final Inspection
Finally, once the weather starts to cool down, you will need to do your final inspection to ensure that the bees are ready to take on winter.
Conclusion
You keep tabs on your family and friends, and now, your bees.
A hive inspection allows you to also inspect your colony and get to know your bees better, monitor their health, combat the enemies that infiltrate the fort, and help them get through the chilliest of winters.
So suit up. You’re in this for the long haul.
Leave a Comment
Your comment will be reviewed before appearing on the site.