When I first learned about beekeeping, it was all hives and tools and such, but nothing about a beehive stand.
When I finally got the hives, that’s when I realized I had to figure out hive placement.
Ants can be a really big problem, so hives sitting on the ground simply wasn’t an option. So what’s a beginner beekeeper to do?
Fortunately, there are lots of people who’ve faced the same predicament and come up with solutions for us. We are going to look at a few of those beehive stands, but first, why do you need a hive stand?
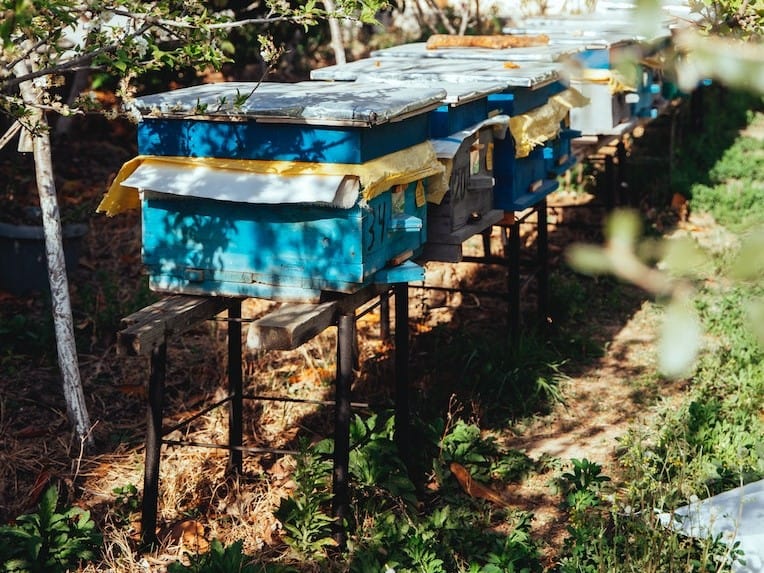
Benefits of a Beehive Stand
- Hive stands raise the hive off the ground, making it easier for you to carry out hive inspections without straining your back.
- Prevents the entrance of the hive from being blocked by weeds
- Keeps the hive dry when it rains or snows
- Keeps the crawling pests out of the beehive
- Allows the screened bottom board to do an effective job of keeping fallen mites and hive beetles out of the hive.
- Inexpensive – you have other priority items to splurge on
- Easy to move
- Durable
- Stable, especially when supporting a full hive of bees and honey
- Provides space for placing tools as well as frames during inspections
- Deters skunks and other small mammals from agitating your bees.
It’s a little difficult to get a stand that checks off all the boxes, but once you prioritize, short-listing your options becomes much easier.
Building a Beehive: The Hive Stand Plan by Stephen E. Tilmann
This is a hive stand that can also serve as a bottom board. In addition, it provides the bees with a slanted landing board. In beekeeping, this is thought to ease their entry into the hive entrance.
This sturdy hive stand provides enough lift to ensure that there’s enough distance between the screened bottom board and the ground. This means any mites and beetle larvae that fall out of the hive through the screen won’t make it back to the hive.
Since the wood will be in contact with the ground, it will not be long before the wood rot unless we take advance precautions. It is best to use rot-resistant wood. Some examples of this are western red Cedar, Pine, and Redwood.
Two or More Beehive Stand Plans by Iron Oak Farm
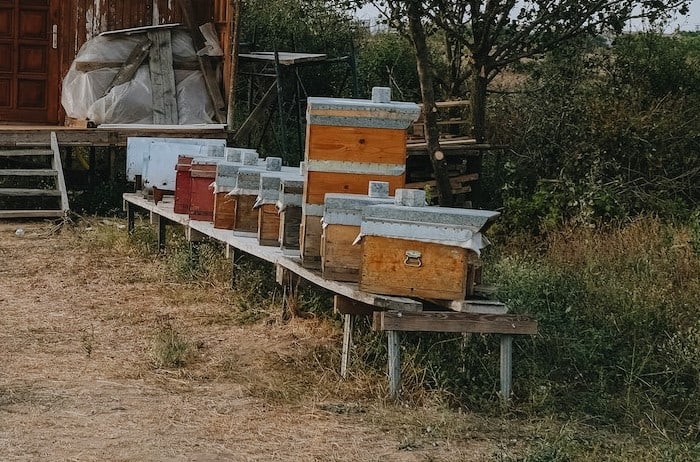
As we do what we can to help our bees, our environment could use a helping hand with recycling. This plan relies on recycled lumber, working as a bar to hold the bee hive. This is one stand that is definitely affordable.
The joints used ensure the stability of the whole structure. It is made to hold two hives or more.
If you choose to only have two hives at a time, the extra space will be invaluable during inspections.
It lifts the hive about 18 inches above the ground, which will reduce the amount of bending you need to do, which can do awful things to your back. That also keeps the entrance from getting blocked by weeds and grass.
Elevated Langstroth or Warre Plans
This is a stand built to hold and support either the Langstroth hive or Warre hive. If you have nucs, this design can hold two at a time with some space for your tools.
As you’d expect from the “For Dummies” series, the plans have been made as simple as possible without compromising on effectiveness.
The legs are 13”, which is sufficient for keeping the hive above rain run-off and ensuring that the colony remains dry in the hive.
If skunks and other small mammals are a problem, you can extend the stand height. They recommend cedar or pine because of their resistance to rot, making the stand more durable.
Double Bee Hive Stand Plans by NicksBees
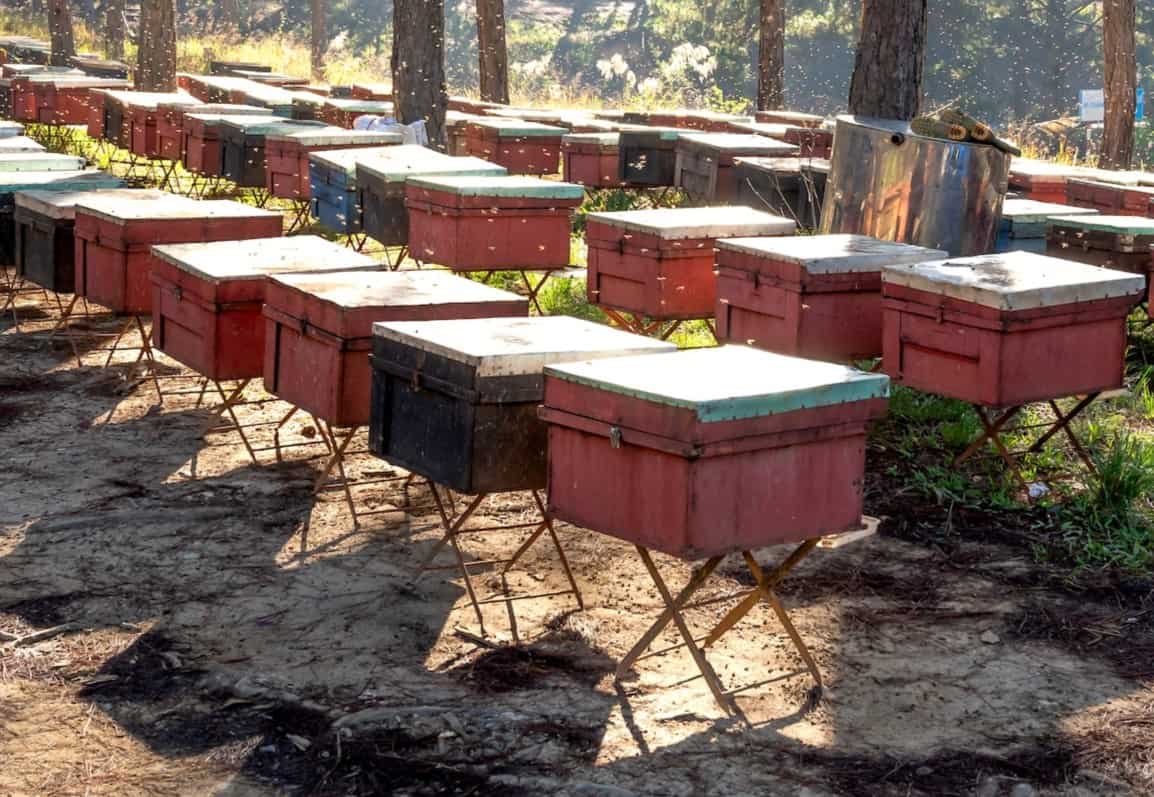
This is a design from across the pond. The great thing about this design is that the legs are foldable, making it easier to transport.
The legs are set up in such a way that they aren’t perpendicular to the ground, making it more stable.
The supporting bars are placed at a distance that allows you to use them as a rack for placing your frames during an inspection.
The designer has also provided a critique of his design and suggested improvements that will bypass some of the challenges he faced.
The stand can hold two hives, and you can even handle an additional nucleus hive.
Smart Hive Stand by Beehacker
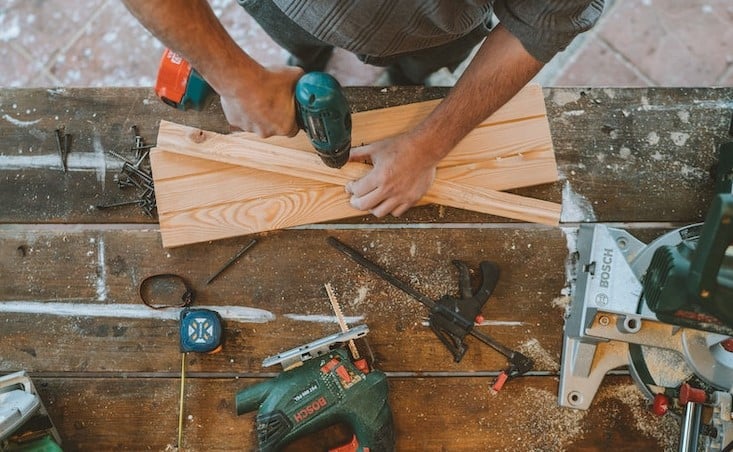
This is a great design. It is simple enough to put together by yourself. The design of the legs has them splayed at an angle, increasing the stand’s stability. It is built to support one hive.
If you have particularly aggressive bees, you are better off having each hive on separate stands. That way, the bees don’t react to the vibration of your activity while you’re working in the hive adjacent to your irritable bees.
The height of the design is ideal for keeping the skunks away and allowing the screened bottom board to get rid of mites and small hive beetles.
One way to increase its durability is to treat the wood with linseed oil. This is a bee-friendly option for your precious bees.
Beginner Friendly Langstroth 10 Frame Hive Stand
I like this design because the joints are quite simple, meaning an amateur carpenter can do this successfully. The plans are simple, wood and a few bolts and deck screws.
With a few additional boards, the hive will fit snugly on the stand and will be kept in place. Therefore, there’s no risk of the hive sliding off before the bees stock up for the winter.
At the height of 16 inches, your hive will be safe from crawling mammals such as the aforementioned skunks, and you can use some grease on the legs to deter crawling pests such as ants.
Depending on where you are, you can make the stand a little taller, with the option to use concrete footings to stabilize the structure.
The stand is designed to hold one hive at a time, so it is ideal for a beginner.
The only downside is that it requires the use of bolts and screws to secure the hive to the stand. That means that you have additional work if you ever need to move the hive.
Other than that, it’s a great place to start for your first bee hive.
Layens Bee Hive Stand
This hive was designed to go with the Lagen hive (similar to a Langstroth hive), which is a beautiful rustic structure. The stand matches the design of this hive and looks like an extension of the bee box.
There are boards that prevent skunks from getting under the stand and clawing at the bottom board. It has two additional boards that run across the legs to offer additional stability. The cut of these crossbars is at an angle to keep you from stubbing your toe as you work around it.
If you are located in a place prone to high winds and midsized predators like skunks, this is a great one to have. The design is suited to hold one hive.
Cheap Stand Plans Made From Recycled Pallets by The Bush Bee Man
If you live in an area where there’s a lot of waste from old wooden poles and pallets, then this is the solution for you.
Recycling these waste materials makes this build cheaper and shorter. The pallets provide stability for the hive, distributing the weight of the hive across several crossbars.
The trick is to make sure that the pallet is level. Once you work out the stand height that works best for you, nail the pallet to the posts. The soil needs to be packed around the poles to keep the stand upright. After that, you’re good to go.
Beehive Stand Made from Stone Blocks
Your beehive stand can be functional and beautiful, and what’s more pleasing to the eye than something rustic? Here’s a stand you can put together yourself in about 30 minutes. All you need is a few rumble stone blocks.
Having different sizes helps to create an interesting yet stable pattern. With these blocks, you don’t need cement. They are stable. It all comes down to ground preparation and their overlap.
You may need sand to get to the ground level. Once you’ve cleared away any underbrush, the sand will fill in the holes in the ground, giving you a flat surface to start laying your blocks. This is ideal for that last-minute stand that we procrastinators have to put up.
It’s quick, easy, and simply lovely, yet still very sturdy.
5-Minute Beehive Stand Using Cinder Blocks & Posts
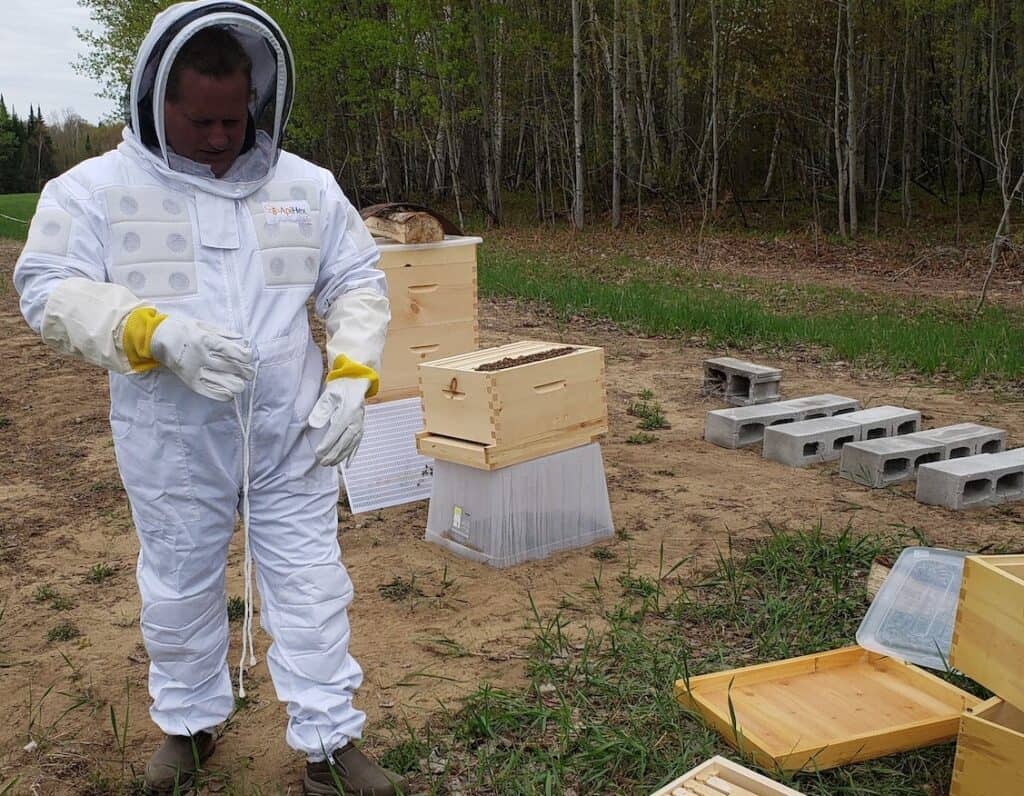
It’s a good thing there are many last-minute beekeepers out there because their ingenuity and creativity solve problems for so many of us. You will need to do some heavy lifting, but the whole build takes about 5 minutes.
Many of us use cinderblocks as hive stands. Now, with the additional timber, you can have a safe, stable structure that can hold multiple hives. It even leaves room for you to place your tools. Being easy to assemble, it makes it ideal for both temporary and permanent hive locations.
Trip Hive Stand
If you enjoy carpentry, then you’ll love this design. It looks a little like a picnic table, with foldable legs to help you move around with it.
The legs are not perpendicular to the ground. Instead, they are at an angle that adds stability to the structure. The crossbars across the legs also help with weight distribution.
It looks great, is durable, and is easy to transport!
Final Thoughts
Even though they are not mandatory, most beekeepers add a hive stand to their apiaries, which helps to keep the bees safer and drier.
Choose the best hive stand that works for you and have fun with it.

Please put me on your mailing list
The information you have provided in this article was amazing and very helpful. Thank you for sharing this wonderful article.
Thank you for sharing this wonderful article. I really liked the way you have presented this article.